
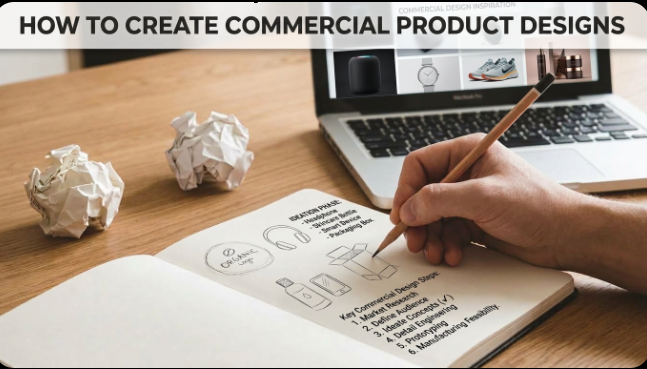
How to Create Commercial Product Designs (Beginner’s Guide)
How to Create Commercial Product Designs
Commercial product design covers a lot of ground — t-shirt graphics, mug prints, phone case art, packaging labels, sticker designs — basically anything meant to end up on a physical product that’s sold. The design process itself is approachable even without a design background, but there’s one part beginners often overlook: making sure every element you use is actually licensed for commercial resale, not just personal use.
This guide covers both — how to design something that looks good on a product, and how to avoid the licensing mistakes that can get a design pulled from a marketplace.
What You Need
- A free Canva account (or similar design tool)
- A clear idea of the product type (t-shirt, mug, sticker, packaging, etc.), since dimensions and design areas vary
- Access to commercially licensed images, fonts, and elements (more on this below)
- If selling via a print-on-demand platform, that platform’s design template/size guide
Step 1: Understand Commercial Licensing First
Before designing anything you plan to sell, confirm every asset you use — fonts, images, icons, illustrations — is licensed for commercial use, not just personal projects. Many free resources online are personal-use only, and using them on a product you sell can lead to takedowns or legal issues. Canva Pro’s content library generally includes commercial usage rights for elements used within a Canva design, but always check individual asset licenses if you’re sourcing from outside Canva.
Step 2: Choose the Right Canvas Size for Your Product
Different products require different design dimensions and safe zones (the area guaranteed not to get cut off during printing). If you’re using a print-on-demand platform (like Printful, Printify, or a local printer), download their official design template first — this ensures your design lines up correctly once printed.
Step 3: Start With a Concept, Not Just Decoration
Strong product designs usually communicate one clear idea — a phrase, a character, a visual pun, a bold graphic statement. Avoid layering too many unrelated design elements together; a focused concept tends to sell and print better than a busy one.
Step 4: Design at High Resolution
Product printing requires higher resolution than typical screen graphics — low-quality images that look fine on Instagram can appear blurry or pixelated once printed on a mug or shirt. Where possible, work with vector graphics (which scale without quality loss) or high-resolution images (300 DPI is the standard for print).
Step 5: Account for Product Color and Material
Your design’s colors will look different depending on the product’s base color and material. A design that looks great on a white t-shirt may need adjustment (like an added background or outline) to stay visible on a black or colored shirt. Preview your design using the platform’s mockup tool before finalizing.
Step 6: Use Mockups to Preview Realistically
Most print-on-demand platforms and Canva itself offer mockup generators — tools that place your flat design onto a photo of the actual product. This step is essential for catching sizing or placement issues before a customer ever sees the final product.
Step 7: Export Correctly for Your Platform
Export requirements vary by platform, but generally:
- PNG with transparent background — for designs going onto colored products
- High resolution (300 DPI minimum) — for anything physically printed
- Follow the platform’s exact template dimensions — mismatched sizes are one of the most common causes of rejected uploads
Once you’ve got the licensing and sizing basics down, creating product designs becomes a repeatable process rather than a guessing game each time. If you’re building out your broader design skills, our Graphics, Design & Creativity section has more tutorials to help with that.
How to Fix Common Problems
Design gets rejected by a print-on-demand platform: Usually a resolution or size mismatch — re-check the platform’s exact template requirements.
Design looks blurry once printed: The source image resolution was too low. Use vector graphics or higher-DPI images going forward.
Colors look off after printing: Screen colors (RGB) and print colors (CMYK) don’t always match exactly — if colors are critical, check whether your platform supports CMYK export or offers a color preview.
Received a licensing complaint after listing a product: Remove the design immediately and review the original asset’s license terms — this is why confirming commercial rights before designing matters.
Frequently Asked Questions
Can I use free Canva elements on products I sell?
Often yes, especially with a Canva Pro subscription, but always verify commercial usage rights for the specific elements you use, since terms can vary.
What resolution do I need for print products?
300 DPI is the standard for most print products. Lower resolutions may look fine digitally but blurry once printed.
Do I need a business license to sell product designs?
This depends on your country and how you’re selling (through a platform vs. your own store) — it’s a legal/business question worth checking locally rather than assuming.
What’s the difference between RGB and CMYK?
RGB is used for screens; CMYK is used for print. Colors can shift slightly when converting between the two, which is why previewing before printing matters.
Can I design for multiple product types with one design?
Sometimes, but each product has different size and safe-zone requirements, so a design that works for a t-shirt may need adjustment for a mug or sticker.
Conclusion
Creating a commercial product design isn’t fundamentally different from any other design work — the extra layer is making sure everything is properly licensed and sized correctly for the physical product it’s going on. Reading through the process gives you the checklist, but running one design through an actual mockup and print preview is what reveals the details that matter.
To help you avoid the most common mistakes, we’ve put together a free commercial design checklist covering licensing, resolution, and export settings in one quick reference — genuinely useful to have open while you’re actually designing, not just something to read once.
Get the Free Commercial Design Checklist
A quick-reference checklist covering licensing, resolution, color, and export settings for product designs.
Have a question, or run into a licensing or sizing issue? Drop it in the comment box below — we read every one — or reach the DCL Admin directly through our Contact Us page.
